So, last week I told you how to create Facebook business pages and how to set up a Twitter account AND how to link the two so that posts automatically sync from Facebook to Twitter. By now, you should have mastered that (or at least given it the old college try) and it’s on to something else – LinkedIn.
Now, unlike Facebook and Twitter, LinkedIn is more geared to you and your professional network – folks you’ve worked with or for, gone to school with and friends. LinkedIn is gaining popularity and boasts a network spanning the globe with hundreds of millions of users.
The first thing you should do is create a personal account on LinkedIn – it’s pretty easy and straightforward – you provide the information, LinkedIn assembles your profile. Once you’ve done that, let’s create a Company Page on LinkedIn.
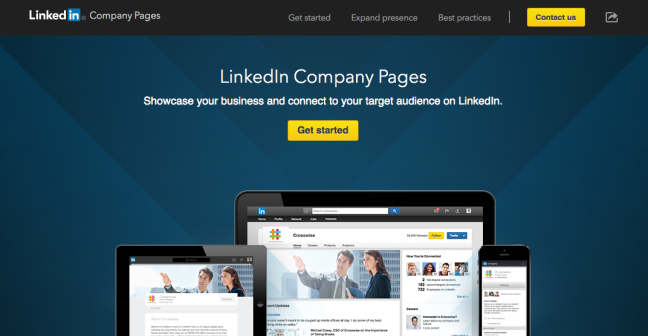
Step 1: Go to the Company splash page and click Get Started.
Step 2: Add your company or business.
Fill in the fields with the appropriate information: Your company name and the official company email address. NOTE: It’s important to make this an email address that will never be terminated or go unchecked. This will likely be the email that folks will contact you through on LinkedIn. So make sure you’re checking your email!
Step 3: Check the verification code sent to your email.
- Assign co-admins.
- Add company description.
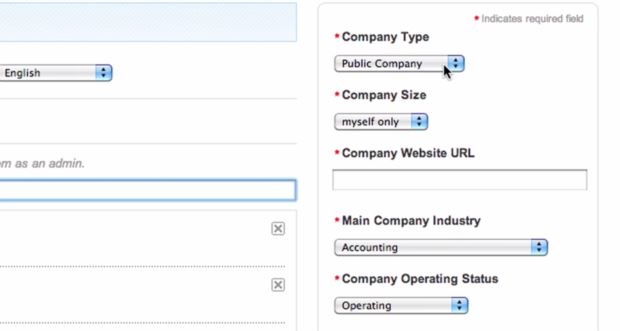
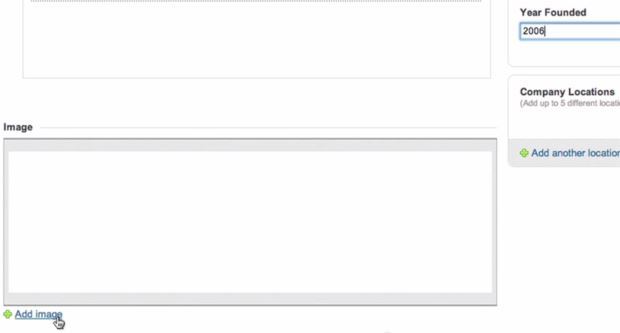
- Input basic company information such as company type, size, website, industry, operating status and year founded.
- Add Featured Groups.
Step 4: Fill in the field for the company page overview.
Google My Business
Google My Business helps your business get found by people searching for your products or services. And, we all want to get found quicker and easier on Google, right? Let’s setup a Google Business page using a free tool called “Google My Business.” Google My Business allows you to be found quicker by your customers and connect with them across multiple devices wherever and whenever. It allows your business information to be displayed on Search and Maps and helps boost your Search Engine Rankings and we can all use a little of that, am I right? So, let’s setup your business page, shall we?
Step 1: Go to the “Google My Business” home page and click Get on Google.
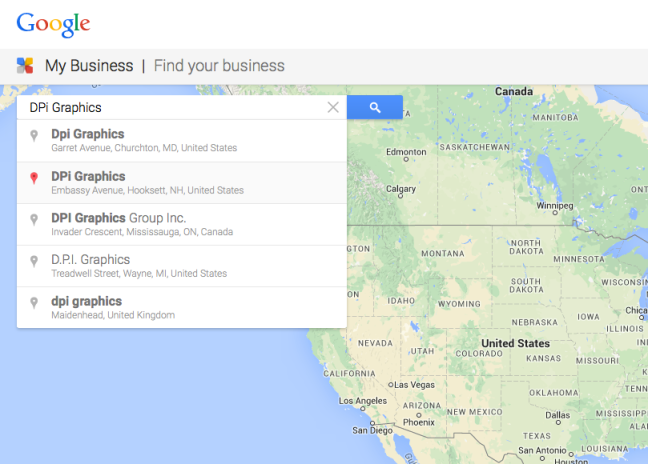
Step 2: Agree to Google’s terms of service and type in your business name in the search bar.
A list of businesses across the country (and possibly the world) will appear. Select yours from the list. You will have to verify your address and click Continue. NOTE: If your business is not on the list, you’ll need to click the Add Business link at the bottom of the list.
Step 3: Fill out the form that appears with all your business information, like you have before.
Step 4: This information will need to be verified by Google, normally by phone or text. Once you’ve received the code and have entered it in Google’s verification system, your page will be visible. NOTE: Your page will not be visible if you do not verify your business information.
Once verification is complete, your page will be visible on Google! You’ll want to add profile pictures, cover pictures and any product or company pictures (such as a portfolio) to your new business page. You can even add posts, though they expire every 7 days.
Remember, this listing will be on Google and will likely pop up first when people search for you. Keep it up to date with your media and information. Social media is constantly changing and by creating a social media presence, you can give your business a big SEO (Search Engine Optimization) boost without spending any money! So get out there and connect and be social!


